30 DAY DECLUTTER CHALLENGE – SOCIAL MEDIA

30 DAY DECLUTTER CHALLENGE – SOCIAL MEDIA

Social media can inspire, entertain and inform you. Also, I like keeping up with friends and family that I don’t get to see often. However, there is that part of  social media that leave you feeling insecure, annoyed and frustrated. I feel the need to declutter this part of my life so that I am not triggered or distracted by negative things. Unfollow what doesn’t add value to your my life or my mind.

30 DAY DECLUTTER CHALLENGE

30 DAY DECLUTTER CHALLENGE

I did a little fall cleaning and also brought out the fall clothes/winter clothes this weekend. Fall is also a great time to declutter which I’m itching to do but it can get overwhelming thinking of where to start. I saw a few declutter challenge calendars floating around social media and I pretty much geeked out planning one of my own. Do you want to join me in a 30 day declutter challenge? I’ll start with some easy stuff throughout the week and bigger tasks on weekends. Are you up for the challenge? You can follow along every day for 30 days or go at your own pace. Click “next post” below to start the first task and also to move on to the next task.

FAMILY PHOTOS FALL 2018

FAMILY PHOTOS FALL 2018

This weekend I tried to take on our own family photo shoot. There was sweating from running back and forth. There was awkwardness and not knowing how to pose without a photographer telling us what to do. There was some huffing and puffing and “what?!” when I said let’s talk another one and another one. I even had a whole bunch of crooked pictures because I had the camera on the tripod set on crooked. I am thankful for photo editing to turn those things right around. Overall, I think they turned great. Here are our favorites.

xoxo,

OUR KITCHEN RENOVATION BUDGET AND WHAT WE ACTUALLY SPENT

OUR KITCHEN RENOVATION BUDGET AND WHAT WE ACTUALLY SPENT
I'm so glad and thankful for our new kitchen. We've been living in it for a while now and I still believe it's worth every penny. 
Now that most of the work is done, I thought I would share a breakdown of our budget and what we've actually spent so far.

Labor
Paint cabinets budget 500 actual 345
Knock down wall,mount cabinets,build/add shelf and molding 500 actual 300

Materials
Paint 135 
Appliances
Microwave budget 300 actual 100
Stove budget (with downdraft vent) 3000 actual (without vent) 1500
Dishwasher budget 600 actual 500
Refrigerator budget 2000 actual 1500

Finishes
Countertops budget 4000 actual 7025
Sink budget 400 actual 130
Faucet budget 100 actual 40
Hardware budget 100 actual 30

Budget 11,635 Actual 11,605

We came in at a whopping $30 under budget. Woo hoo! I'll take it. I do have a few more things I would love to do in the future. I hope we can start on them sooner than later. Right now we have decided to put renovations on hold and use the money we could spend on renovations for family travel when the kids have breaks from school.

xoxo, 

HOME TOUR: OUR KITCHEN

HOME TOUR: OUR KITCHEN

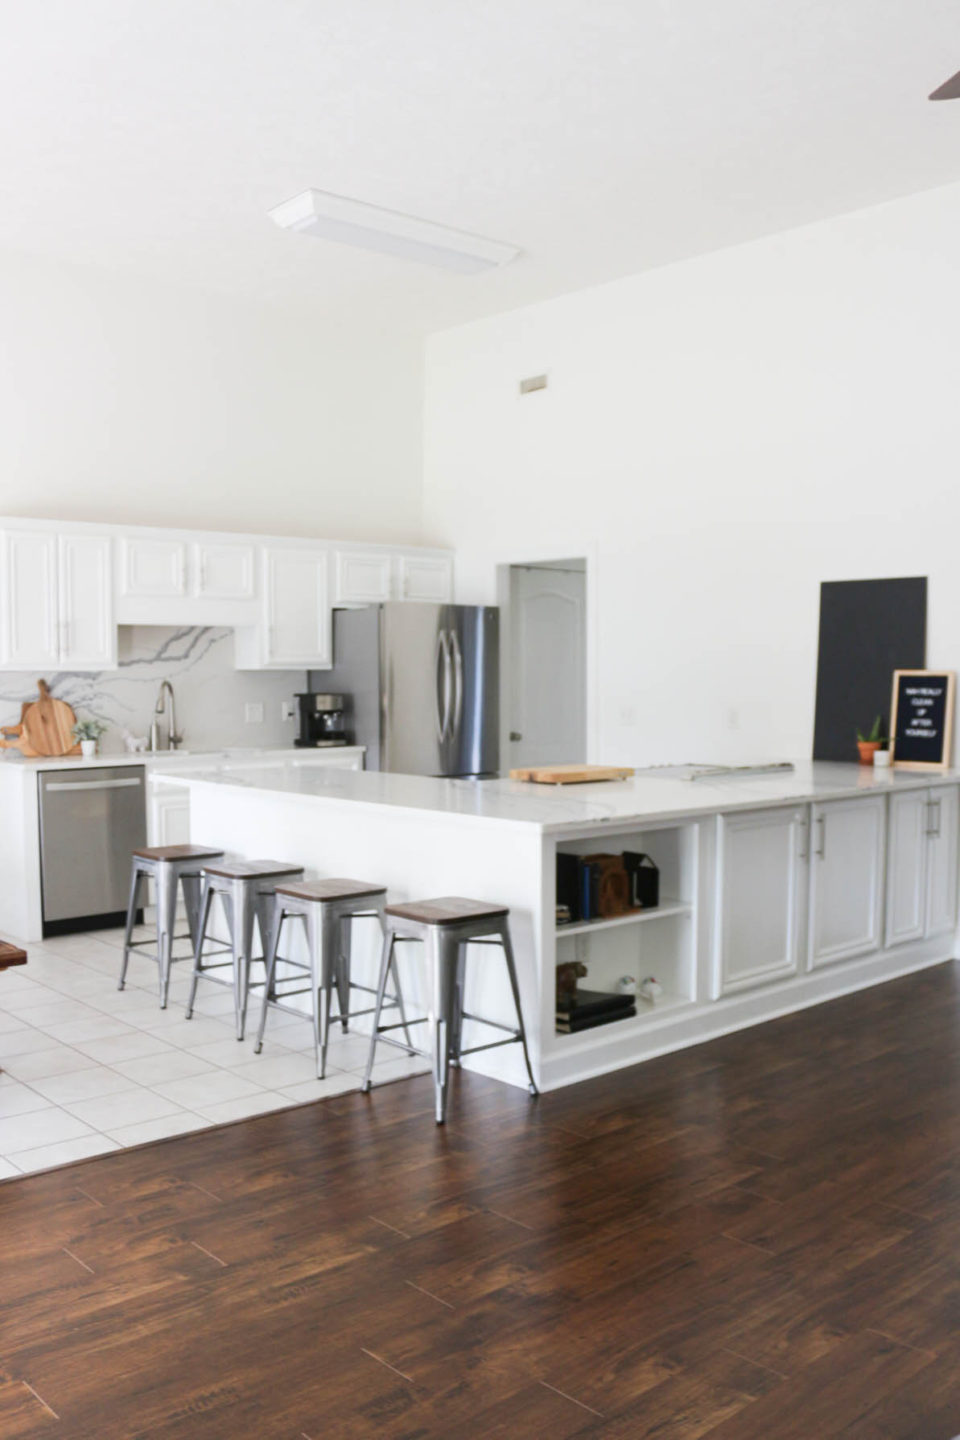
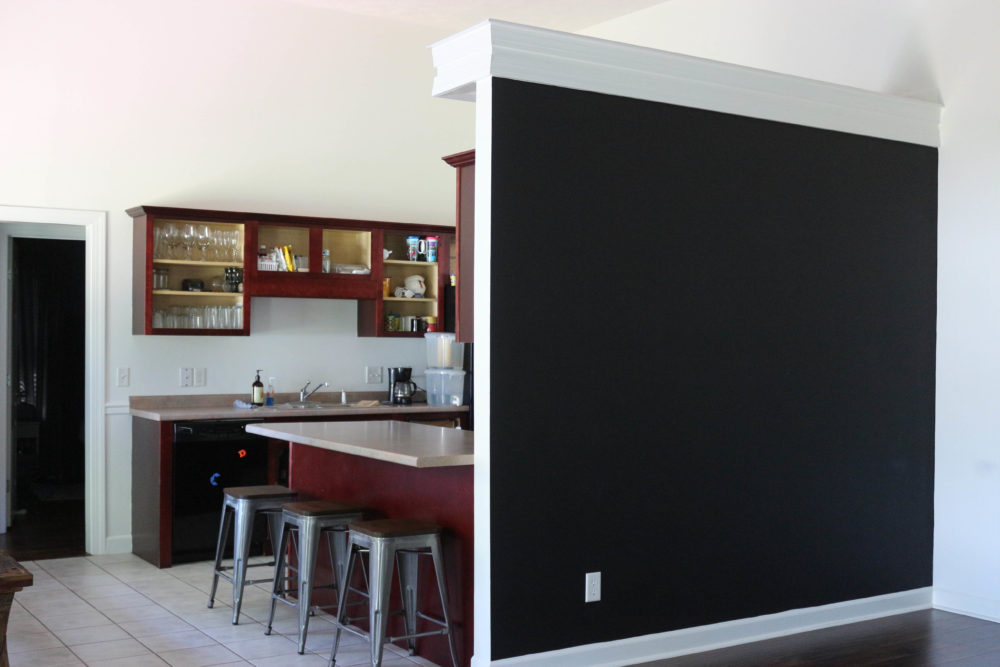
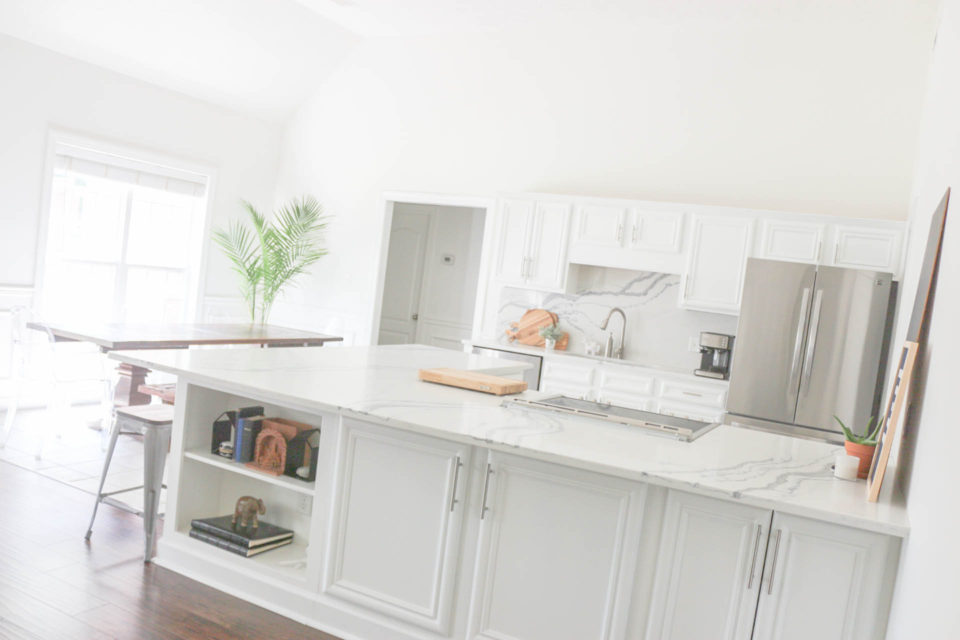
I am happy to report that our kitchen renovation, that we’ve been working on and putting off for several months, is (for the most part) done! I love how it turned out. I’m so excited to finally get to share some pictures with you.


I still have a wish list of details I would like to add or change in the future.

Wish list:

New light fixtures

Cover ceiling and add beams

New floor in kitchen extend wood laminate through kitchen area

New doors and windows in back wall

New table bench and bar stools

I love how it’s turned out so far. What do you think?!

xoxo,


ENTRYWAY REFRESH

ENTRYWAY REFRESH

We’ve been living in this house for over two years. I’ve been wanting to do a little refresh to the entryway for a while now. It’s a pretty small area so I am not able to put much in this space. When we first moved in we painted the walls white. The paint name is Distant Gray by Benjamin Moore. We hung up a large mirror and put down a rug that we had in our previous house. We’ve had both, the mirror and rug, for over 10 years.

I wanted a little refresh to the space without spending a lot of money. At first, I wanted to buy a new large round mirror and maybe a new rug. I decided, instead of buying anything new, I could update what I have to fit my style now. First, I painted the mirror (white, of course) I just used the same paint I used for the trim that’s throughout the house. I just wanted it to flow and blend in with the trim and walls. The paint I used is Simply White Semi- Gloss by Benjamin Moore. 

Second, I used black acrylic paint to brush paint the border of the rug that I already had in the space. I had planned to go buy some fabric paint. But I read the label on this acrylic paint that I already had and saw that it was suitable for fabric too. 

Next, I spray painted a orb piece that I found from tjmaxx years ago. I bought a new mini pendant fitter, by Portfolio from Lowes, to make a chandelier out of it again. It was actually black when I bought it. I painted it bronze and made it into a chandelier for the breakfast nook in my previous house. I took it with me because I knew I wanted to reuse it somewhere in this house. This time I spray painted it back to black. Lol. I used the Rustoleum Flat Protective Enamel. I always like to use this handle that you can slide it right on top of the spray nozzle. It’s very helpful to keep your fingers from hurting from pressing on the nozzle so much while spraying. Plus you don’t get spray paint on your fingers. Winning.

I also used a white acrylic paint to brush paint the bottom of this basket that was gray. Luckily, I had this paint already too. I got the basket form Bargain Hunt a couple of years ago.  Still winning.


I bought this bench for guests to sit on when they take off/put on their shoes. The bench and the pillow are from my collection from Deny Designs. I am always down for some black and white decor. It can be a classic, modern, and minimalist look all at the same time. To add warmth and life to the high contrast of a black and white, my current go to is woven decor and plants. Hence, the woven basket with a plant and woven rug.

I like how it flows with the black accents in the living room such as the dresser and mirror.  I can’t wait to welcome our visitors in our new entryway.

There you have it. My new entryway. It’s stylish and welcoming. At least that is how I want people to feel when they come into my home. Welcomed.

xoxo,


DIY REUPHOLSTERED BED

DIY REUPHOLSTERED BED

This weekend I reupholstered a bed for my youngest son. I’ve been meaning to do this for a long time but just haven’t made the time. This past week, a friend of mine on Facebook was looking for a bed for a woman that had to leave her home abruptly and had nothing but the clothes on her back. We gave my son’s bed to her and it gave me the kick in the pants to redo another bed for my son. I actually bought the fabric that I wanted to use for this project a year ago.  They are actually curtain panels that I got from Bargain Hunt for $11/panel! I bought 2 panels to actually use as curtains and 2 more to use the fabric for the headboard and bed frame. I used a metal bed frame and boards that we had in the attic. I saved them knowing I was going to reupholster the boards and headboard for my younger son’s room one day. The metal bed frame with boxspring and mattress sits a little high, so I wanted him to use the platform bed first since he was still small. I used a neutral color so that we can easily change out accessories as his favorite colors and favorite things change. I knew wanted the headboard to be plain, without nailheads or tufting, so I thought it would be easy enough.

Here are before and after pics. If you want to check out the videos of me doing this project. It is in my instastories highlights.

IT’S A CHRISTMAS HOME TOUR!

IT’S A CHRISTMAS HOME TOUR!

It’s beginning to look a lot like Christmas in our home. It took a while for me to get in the Christmas spirit but here I am. Since I had a slow start, this year I decorated in stages throughout the few weeks up until now.

On the first week of December we got the Christmas tree up and decorated it with ornaments that the boys made throughout the years and some of our other favorites. We switched out picture frames with family pictures to pictures of the boys from Christmas past and placed them back on the shelf, along with the beginnings of our collection of Christmas cards from friends and family. That was about as far as I got. Besides putting up the tree with the boys, I was just not feeling inspired to decorate. But it was all good.

On the second week of December we got a small remodel on the fireplace and tv nook. The back story to this is that a few days before Thanksgiving I decided that I wanted to check off one thing from my remodel/to do list. So I was able to plan a consult for after Thanksgiving and scheduled a remodel for the second weekend of December. It took one day for the initial work and then a few more days for patching… some more patching and drying…painting and drying. (I’ll have more on this, along with before and after pictures, in another post)

By the third week of December, I saw so many pictures of cabins, by the lake, surrounded by tall trees and deep snow. I’ve also browsed through many pictures of Scandinavian Christmas decor. There is just something magical and peaceful about both.

Photo Credit: @stevint via instagram

Photo Credit: Dwell Beautiful (collage) via Pinterest

While shopping for Christmas presents, the week before, I got some ivory pillows and throw blankets instead. lol. All of this inspired me to want to decorate again. I imagined a wintery white Scandinavian minimalist style Christmas. I went back to the attic and got the 3 mini trees, a wreath, 2 white faux fur stockings and brass metal reindeers I got from a yard sale. I’ve had all of these for years and they are still my favorites. I used a faux pine tree branch that I already had from a photo project and turned it into wreath. I knew I wanted to use real garland this year and was on the lookout for those but could not find them anymore at this point. However, I did know what finishing touches I wanted for the Christmas “feel” I envisioned. I got online and ordered some fake snow, fairy lights, felt ball garland and white velvet ribbon, cream knit stockings, 2 faux sheepskin rugs and (wait for it) another pillow.

It’s the fourth week of December and I am now sharing my Christmas decor with you. I finally scored some real tree trimmings this weekend. My weekend project was making garland for my mantel and doorway. I had enough trimmings left over to place in vases for my dining room table and bathroom. I used the rest of the trimmings to redo the wreath that I had on the front door. Here is the picture of the wreath before I got it on the front door.

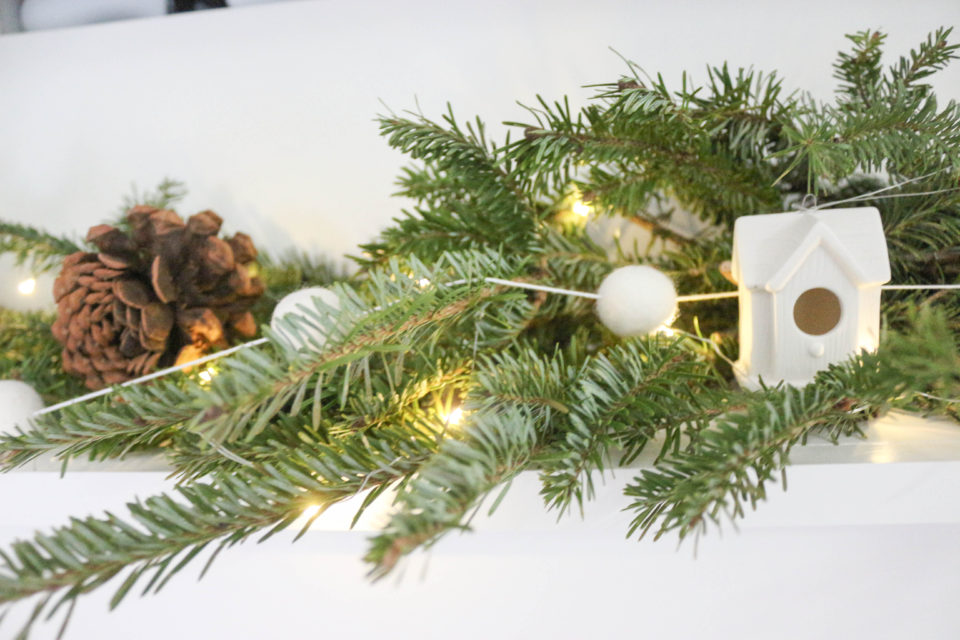
By this time I had already received all the things I ordered online and gradually decorated as they came in, sans garland. I finally got the garland on the mantel. I added the fairy lights, a few white ornaments from the tree, pine cones, and the felt ball garland that I ordered online. The ivory knit stockings were hung by the fireplace with care. Along with white faux fur stockings that were already there. 

I worked with some vases and baskets and trays that I already had out around the house. I hung up my diy wreath  and garland in the dining room. We can’t wait for good times with our family and friends. They will be here for an early Christmas dinner soon.

I love decorating with this fish bowl vase. This time I turned it into a “snow globe”. I added fake snow and a mini tree. I wrapped fairy lights around the mini tree. It has a battery pack (with a timer too) so I can put it anywhere and turn on the lights without having to plug it in an outlet. I added these fairy light to all three of the mini trees, my wreath on the shelf and the garland on the mantel. 

It’s very delightful and gives me the warm and fuzzy feels when I turned on all the Christmas fairy lights and the cozy fireplace. I’m channeling that hygge life. haha. There is it! A Minimalist (kind of) Wintery Wonderland Christmas Home Tour! Thanks for visiting!

Have a Merry Christmas and Happy Holidays!

xoxo,


SIMPLE MODERN FIREPLACE REMODEL

SIMPLE MODERN FIREPLACE REMODEL

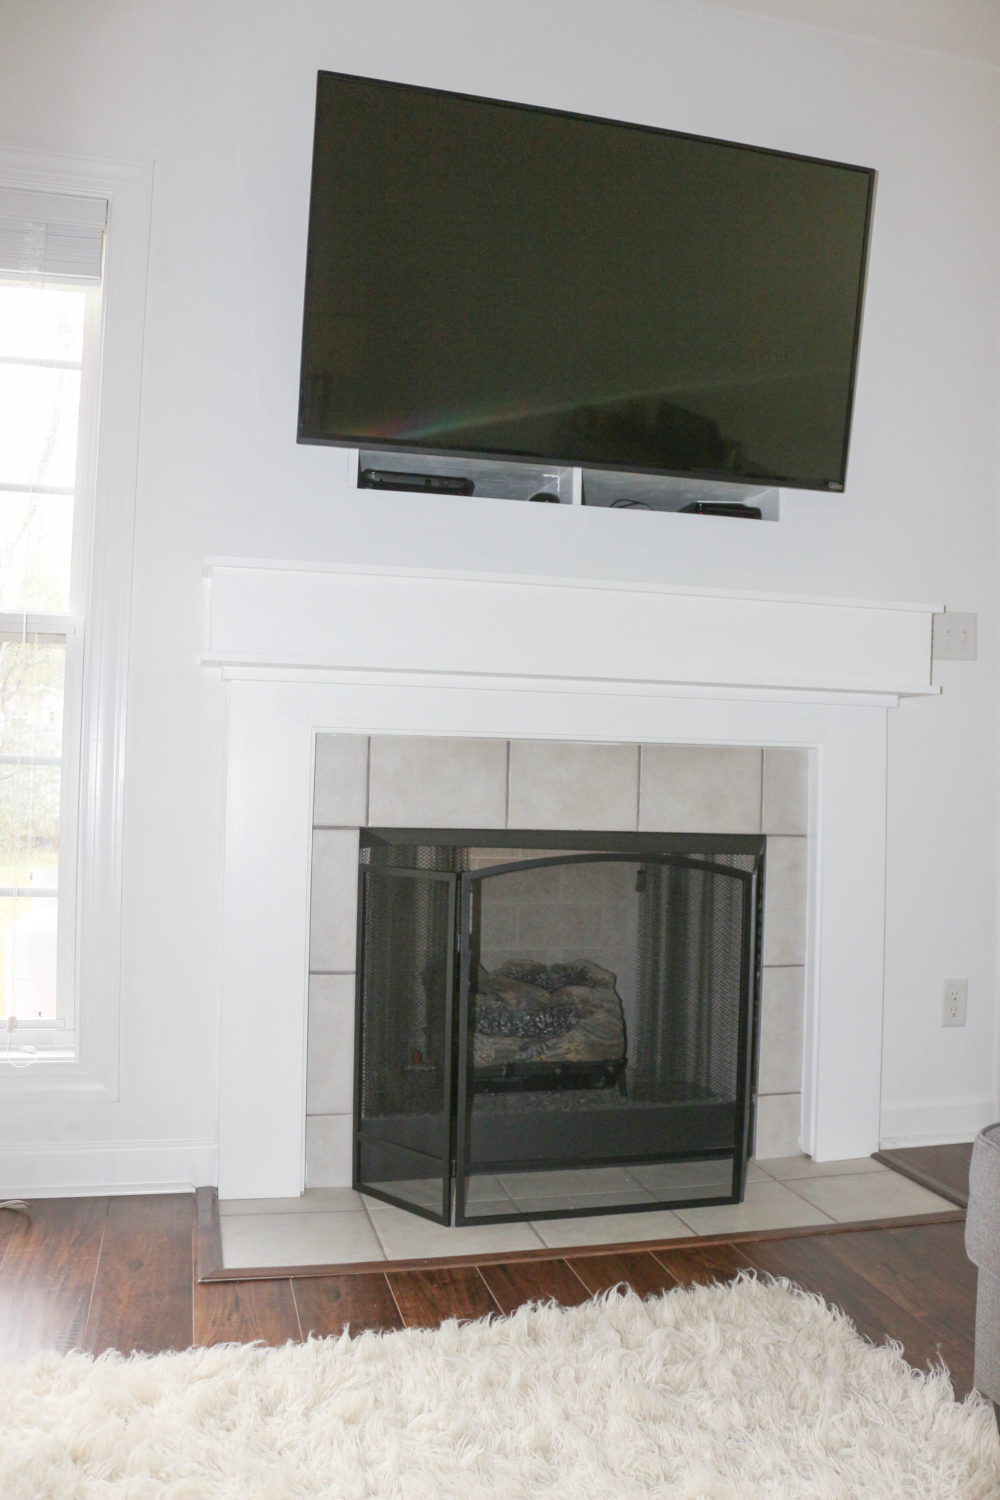
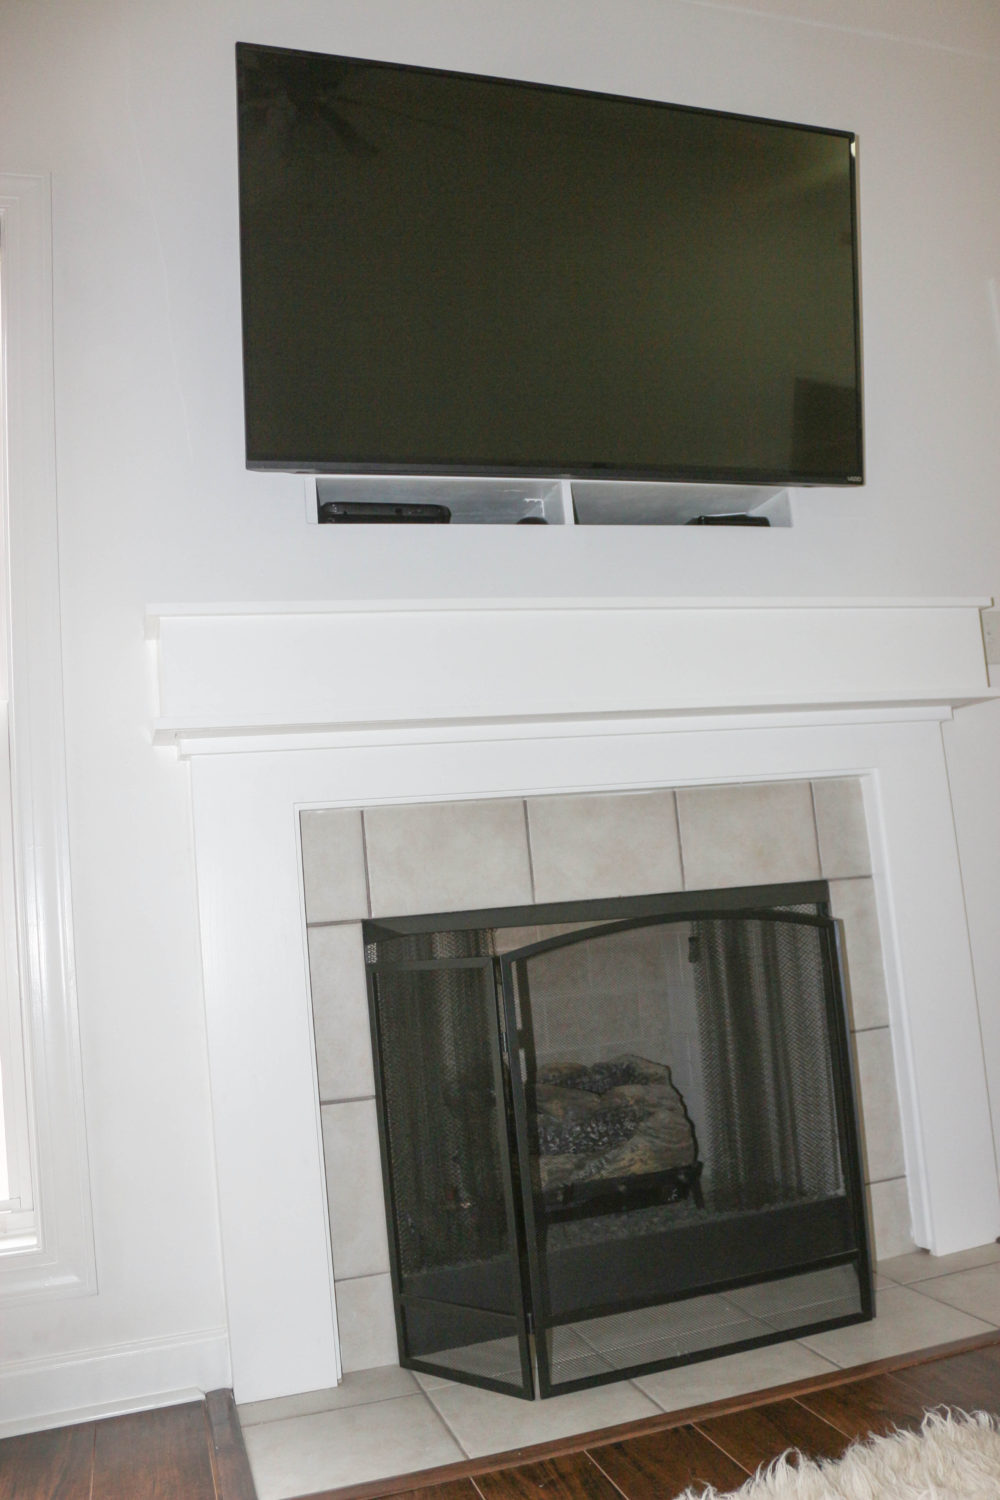
The day before we left town for Thanksgiving I randomly decided that I wanted to check one thing off of my  remodel/to do list. That is to remodel the fireplace and tv nook. I must’ve been thinking about decorating the mantel and decorating in general for Christmas, when we got back from Thanksgiving vacation. I immediately texted my friend/home remodeler (who helps us with all of our remodel projects) to schedule a consult after we got back in town. This weekend we were able to get a new fireplace!

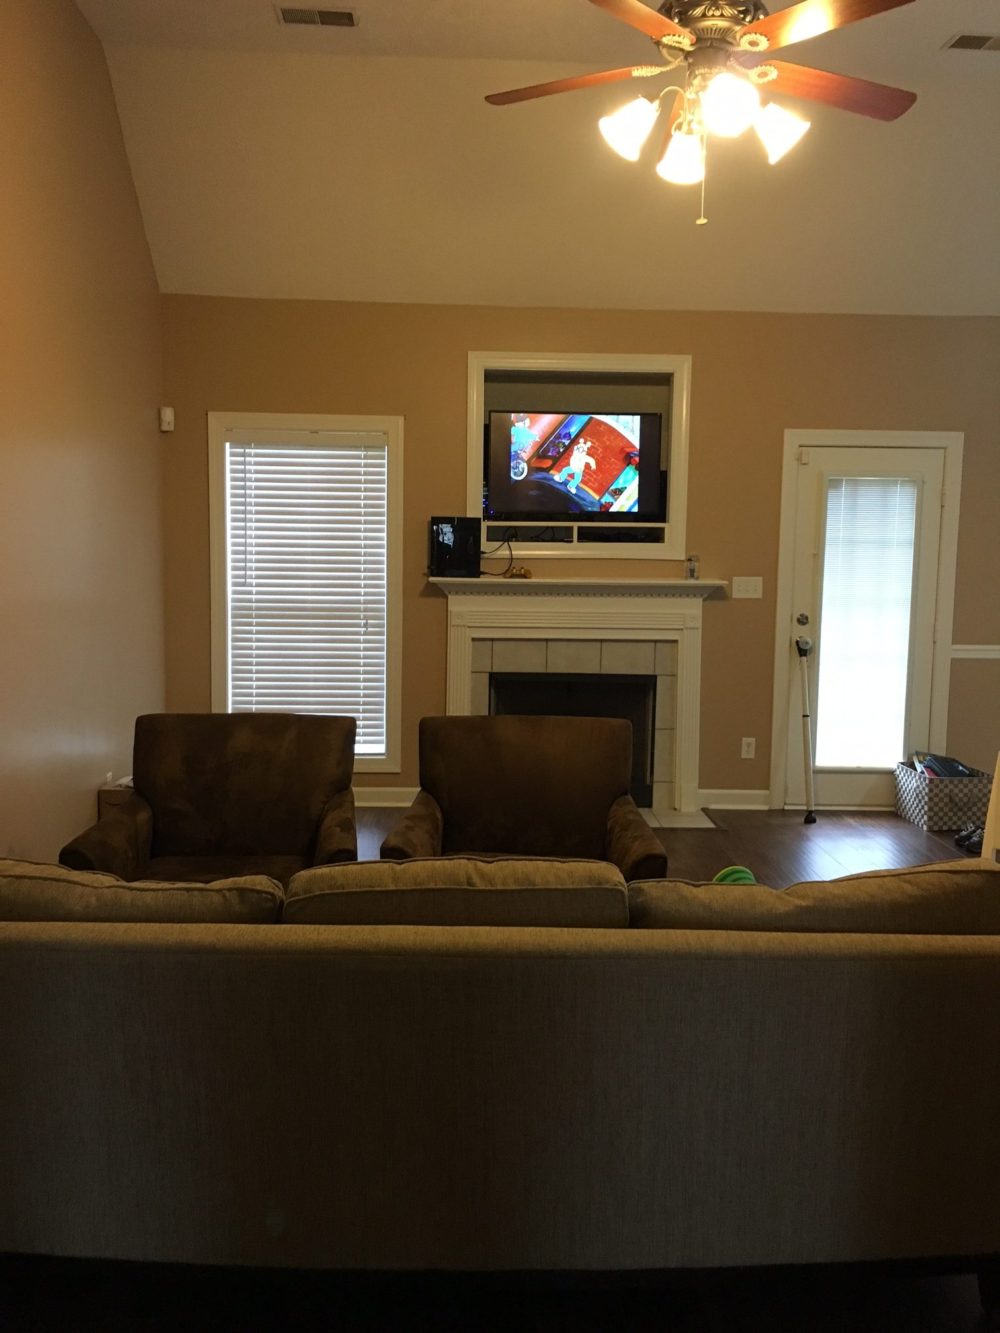
For the tv nook, I wanted to remove the trim and drywall the top part of it. It was originally built for those old square clunker tvs over a decade ago. For the fireplace, I wanted to remove the “elaborate” trim as well. I also wanted to make it look chunkier. I wasn’t set on any one design. I just knew I wanted it to be simple, modern and chunkier. After we removed all the trim, leaving the flat pieces, we added a flat piece of wood right under the top part of the mantel. Then we added straight trim around the top mantel and the bottom of the flat piece we added. We added a piece of wider wood over the sides of the fireplace to make it chunkier looking on the sides as well. Then we added one more piece of narrow straight trim right under the bottom of the mantel. I thought it was perfect and we stopped right there.  It was so much to design we go. I love the results! Although it’s simple, I have yet to see a mantel exactly like this one. That’s also why I love it so much. I do want to replace the tile with either marble like quartz, white tile or black slate. I haven’t decided quite yet what I like the most, so I will leave the tile for now. I do love the modern mixed with classic details of the house. Also, I am glad to get one more thing checked off of my remodel to do list.

When we first moved in 12/2015

Updated 12/22/17 fireplace decorated for Christmas

xoxo,

error

Enjoy this blog? Please spread the word :)